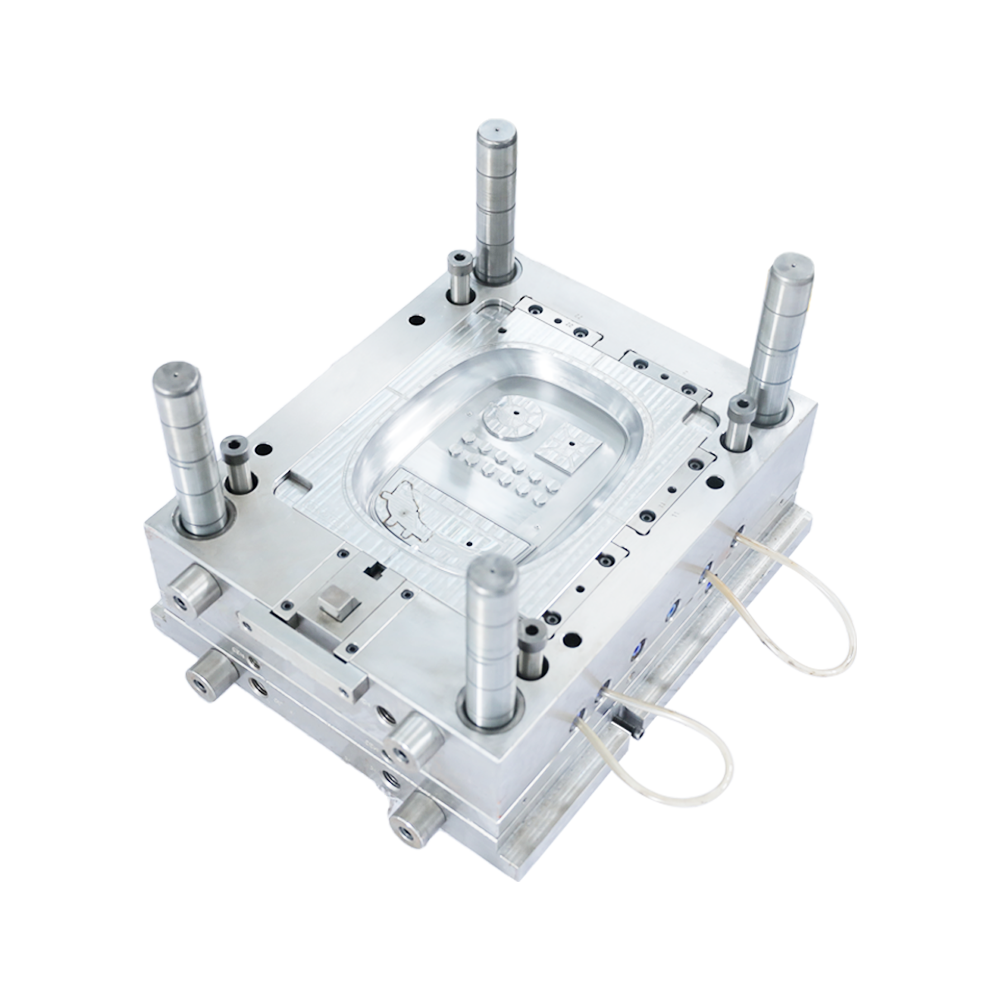
Continuous die refers to the cold stamping die in which the press uses strip stamping raw materials to complete multiple stamping processes at the same time with several different stations on a pair of die in one stamping stroke. The strip moves at a fixed distance once after each stamping of the die, until the product is completed.
1. Maintenance of punch and die
When disassembling the punch, pay attention to the original condition of the die so that it can be easily recovered in the subsequent die assembly process. If there is a gasket or displacement, the thickness of the gasket shall be engraved on the part and recorded.
When replacing the punch, try to insert the demoulding module to see if the female mold is smooth, and try to evenly insert the gap between the female mold and the female mold; When replacing the female die, test whether the gap between the insert and the punch is even.
In view of the shortening of the punch after grinding, it is necessary to add pads to meet the required length, and check whether the effective length of the punch is sufficient. It is necessary to find out the reason for replacing the punch, and check whether the corresponding concave die has broken edges and needs edge grinding.
When assembling the punch, check whether there is enough clearance between the punch and the fixed block or plate. If there is a pressing block, check whether there is active margin. When assembling the female mold, first place it horizontally, then place a flat iron block on the surface of the female mold, and knock it in place with a copper bar. Do not tilt and force it, and chamfer the bottom of the female mold. After installation, check whether the mold surface is flush with the mold surface.
After the assembly of punch, die and die core, check the protective belt to see whether all parts are installed incorrectly or upside down, check whether the die and die pad are installed upside down, whether the blanking hole is blocked, whether the newly replaced parts need to steal materials, whether the stealing is sufficient, and whether the parts that need to be locked are locked.
Pay attention to the locking confirmation of the release screw. When locking, the cross locking shall be applied evenly from the inside to the outside. Do not lock one screw first and then the other screw, so as not to cause the formwork to fall off and tilt, causing the punch to break or the die precision to drop.
2. Maintenance of formwork removal
To remove the template, first pry it up with two screwdrivers, and then balance it with both hands. When it is difficult to disassemble, check whether the mold is clean, whether the locking screws are all disassembled, and whether the mold is damaged due to sticking. Find out the cause and deal with it accordingly. Don't deal with it blindly.
When assembling the demoulding, first clean the punch and demoulding, add lubricating oil to the guide column and the guide of the punch, and then put them in place smoothly, then press them in place with both hands, and repeat several times. If it is too tight, find out the cause (whether the guide post and guide sleeve are guided normally, whether there is damage to each part, whether the newly replaced punch can pass smoothly, and whether the template removal is correctly positioned), find out the cause, and then carry out corresponding treatment.
If there are pressing blocks on the fixed plate, check whether there is enough space for stripping the back plate. The material contact surface between the demoulding and the concave die is pressed for a long time to produce an indentation. When the indentation is serious, it will affect the pressing accuracy of the material, resulting in abnormal instability of the product size, etc. The stripper insert and stripper plate should be repaired or reground.
The accuracy of the contour sleeve should be checked. If the contour is not equal, it will cause the formwork to tilt, and damage its precise guidance and stable elastic compression function, which should be maintained.
3. Inspection of guide parts
Check the fit clearance between the guide post and the guide sleeve, whether there are burns or wear marks, and whether the oil inlet state of the mold guide rail is normal. The wear of the guide parts and the damage of the precision reduce the precision of the mold. The mold parts will have problems. They must be properly maintained and replaced regularly.
Check the accuracy of the material guide. If the guide pin is worn, it will lose the accuracy and function of the belt guide and must be replaced. Check the condition of release spring and ejecting spring to see if they are broken, or if they have been used for a long time but have lost their original strength due to fatigue, they must be regularly maintained and replaced, otherwise the mold will be damaged or the production will not be smooth.
4. Adjustment of die clearance
The die positioning hole is worn due to frequent assembly of die cores, resulting in large gap after assembly (loose after assembly), or uneven gap (positioning deviation), which will lead to poor section shape after punching, easy fracture of punch, burr, etc. Proper clearance adjustment can be made by checking the cross section after stamping.
Small, small section, large clearance, large section, large burr, reasonable clearance can be obtained through displacement, and appropriate records shall be made after adjustment, or marks shall be made on the edge of the mold for subsequent maintenance operations.
 +86-15995701933
 [email protected]
- OEM Plastic Mould Manufacturers

 ��������


